Made by a Fabricista: Silk Crepe de Chine Soft Pleated Maxi Dress

So before I get into this garment, I need you to know I spent 10 (yes 10) days home with this fabric. I took a mental staycation from work and just did a bunch of nothing with kid time sprinkled here and there. I woke up Superbowl Sunday morning to a phone call. It was my best friend that asked what I was doing for the day to which I responded "I need to sew something, anything today". She responded, "what did you end up doing with the green silk"? Yup.... I forgot this dress was due this week.
The fabric used 4.5 yards of kelly green silk crepe de shine from Fabric Mart which I snagged during the sale a couple weeks back. It is no longer available, but check out these alternatives (HERE), (HERE), & (HERE). My plans were to make some sort of maxi with pleats, so I had a good starting point. This dress will be one of many garments I am making for my upcoming birthday trip to Guadeloupe. I didn't have much time to play around, so I flipped through my Pinterest for some bodice ideas.
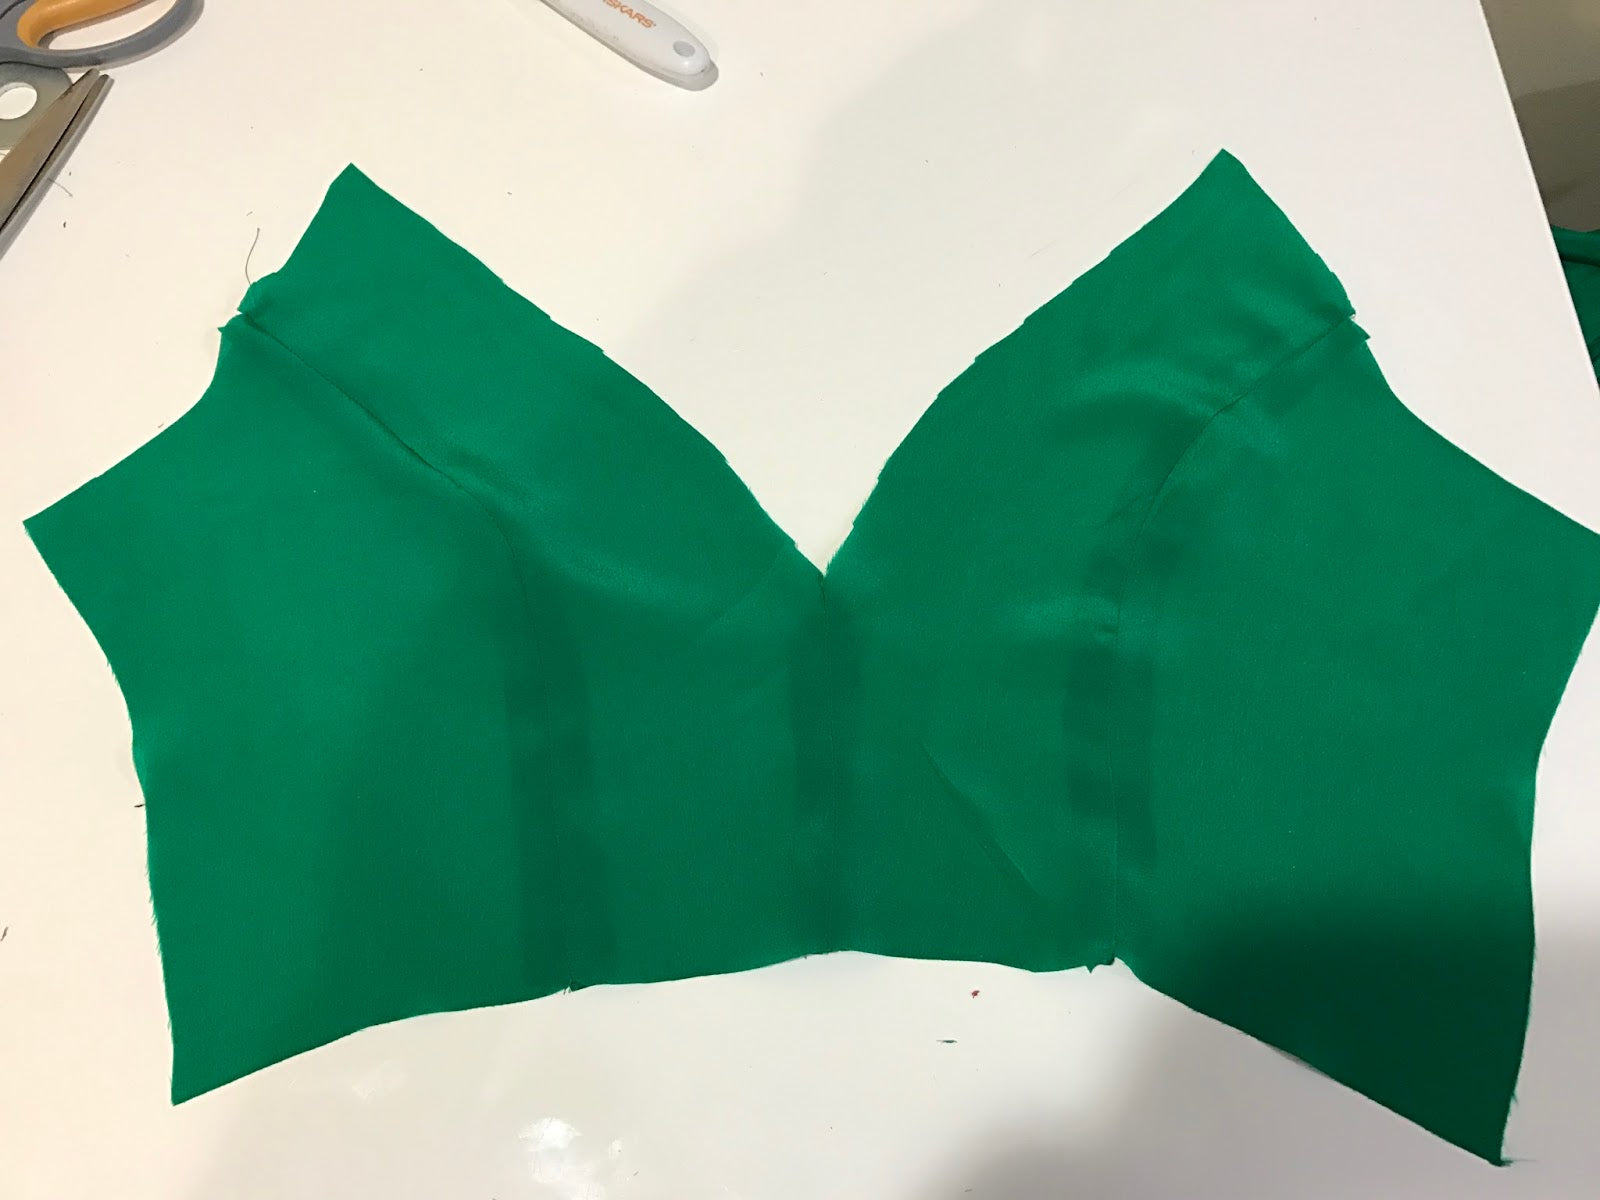
I came across a simple, yet effective top with spaghetti straps and thought.... hmmmm I can do that! I draped the bodice on my dress form, cut my fabric and began to assemble to pieces.
Somewhere between all this and the final construction, it all fell apart. Too many adjustments were needed, my patience was short, and I didn't have time to go back to the drawing board, so I trashed it. Fail #1
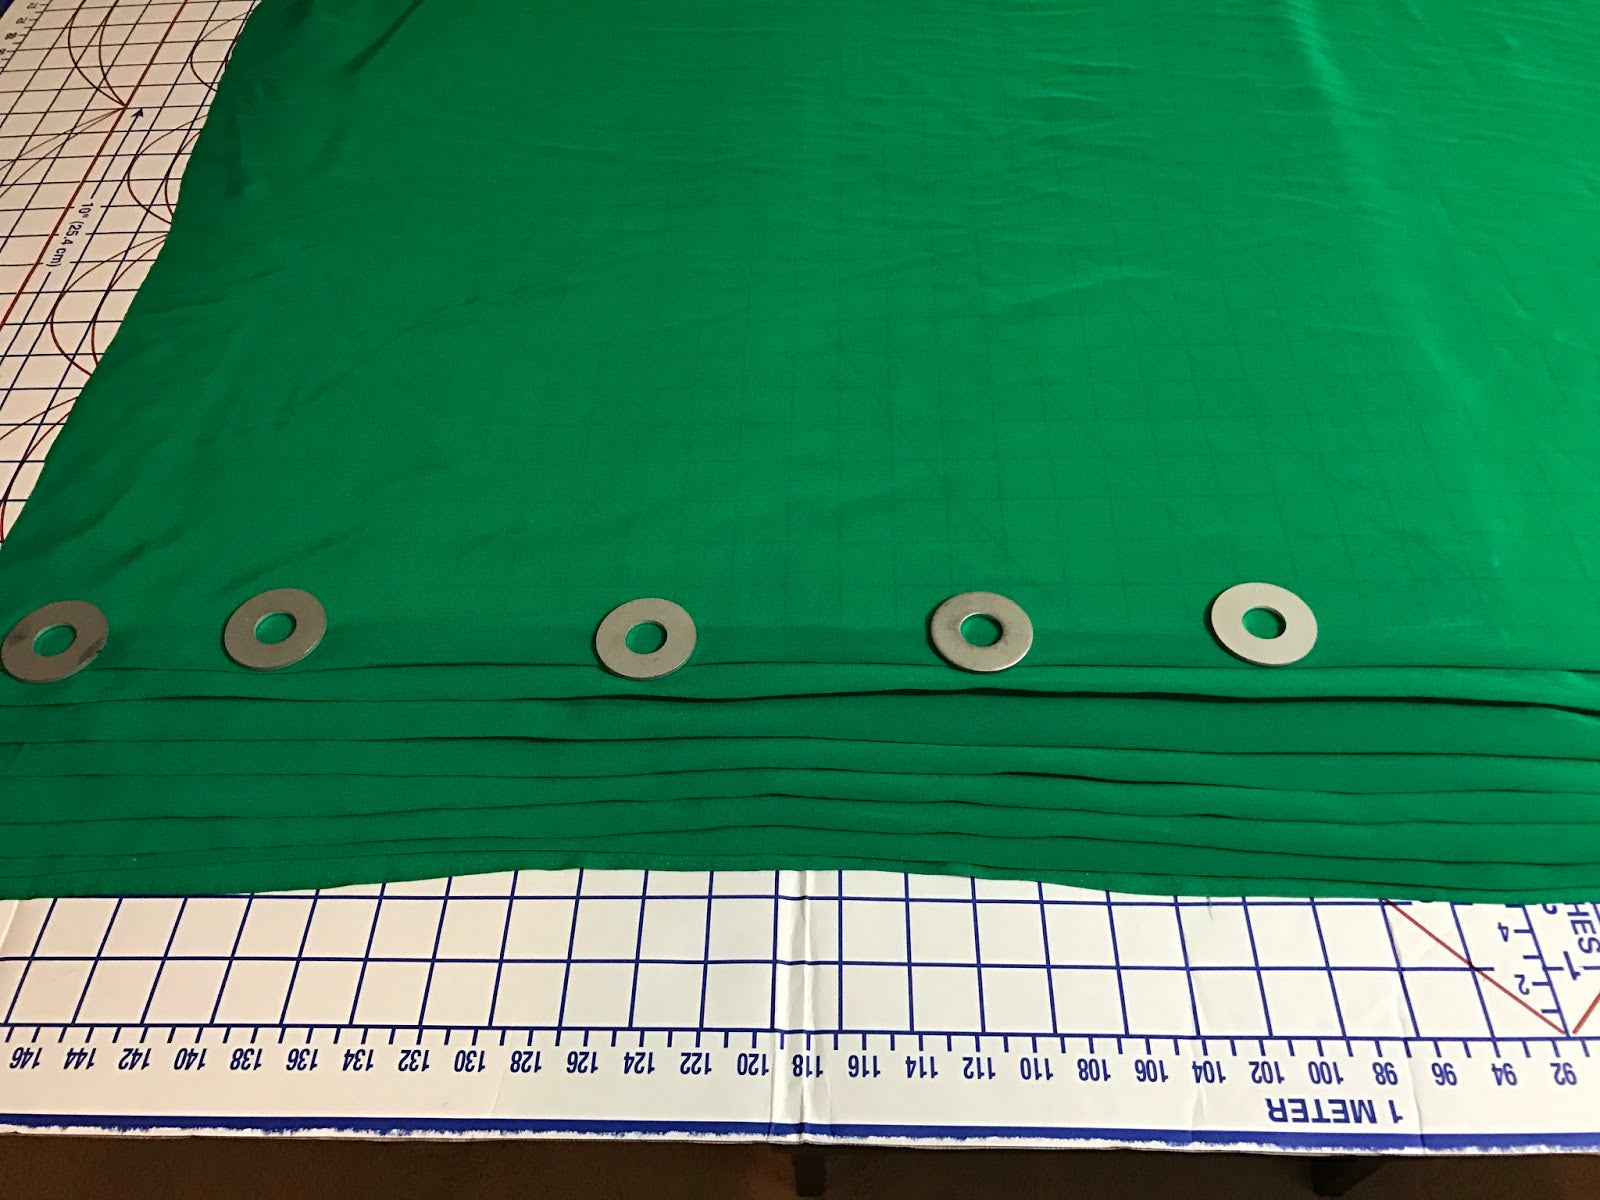
While I pondered what bodice I would make with the remaining yard of fabric, I began to work on the skirt. I cut 2 panels that were 45" (the fabric width) x 50".
There are several techniques that you can find on pleating. You can make a pleat board, or something as simple as measurement marking. Because I was working with silk, I had to get creative. The difficulty involved was keeping silk stable.
I laid out my measuring mat on my cutting table which is the ONLY surface that could accommodate 50 inches of fabric in length. Next I had to determine the method of pleating I would use keeping in mind, I could not put anything on this fabric (i.e. starch,). I used my drafting ruler to measure out my pleats. While this method would have proved to be beneficial for sturdier woven knits, I quickly realized this was not going to work. So in the spirit of time, I decided to freehand pleat from top to bottom. I used my pattern weights (thank God) to hold the pleats in place until I was ready to press each one down.
After these 7 pleats, I knew it would be a long day.....
This is one panel completed. I measured 15 inches exactly #winning. Looks like I'm heading in the right direction right? I put masking tape along the ends of the top and the bottom to keep the pleats in place. A little tip I learned (HERE).
In the end, I had 30 inches for my 29 inch waist. With freehand pleats, this worked out better than I could have imagined as I did not have to cut off any extra fabric or re-adjust any of the pleats #wonthedoit.
Now back to the bodice.....
I scrambled through my patterns which I recently reduced from over 200 down to less than 20 and found V1524.
Using silk for this pattern bodice is NOT recommended for this pattern, so I knew there was a potential for fit challenges. I omitted the stand up collar, self lined the bodice with silk, and added Pellon fusible knit interfacing & underlining to the pattern pieces that served as the lining. This was my first time using this type of interfacing, and I happen to have JUST enough for this project in my stash. This interfacing was very soft and a great option for this type of fabric as it does not take away from the natural drape.
I constructed the bodice, attached it to the skirt, added an elastic band to the seam to also serve as a facing for the back, and hemmed the skirt.
The last thing I did was adding the hardware. In this case, it was the invisible zipper on the skirt, the one inch metal release buckle I ordered months ago for this pattern found (HERE), and the metal zipper used for the upper back. I shortened a zipper I already had for the upper back which was the first time I actually took to the time to do so. I pulled out my tools searching for the right pliers to removed and replace the stopper. I found out I had a leak under my basement sink while looking for tools and got rusted tool water ALL over my bodice top while discovering the tool kit I was pulling out was full of water.... WHY LAWD?!?!?!?!?!?!?!?!? Fail #2. I quickly removed the bodice from the skirt, hand rinsed the bodice and threw it in the dryer on delicate. At this time, I just sat down in time to watch the halftime show. By the end of the halftime show, the bodice was dry. I reattached, finished the zipper, and had hand sewn the metal buckle on. Finish at last and I was beat!
Moral of the story... plan better!
I hope you enjoyed my last minute struggle, until next time, Happy Sewing!
Jenese
|
Posted on February 08 2017


So, so lovely…and all of that pleating! You're a champ.
What a beautiful dress and great workmanship on it.
Wow. Just that: Wow. Both for the way you put that together and for the way you look n that dress.
What a beautiful dress! Your struggles were worth it.
Wow,I love this dress. Glad you were able to fight through the water leaks etc, lol. This is worth it!
Wow this is gorgeous! Glad it all worked out in the end.
You did ALL that work in one day? I'm so super impressed! The color suits you and the dress is fabulous!
It is beautiful
I'm glad you had to change up your design because that top is lovely and the pleating is what makes this fabulous! Oh and you know I'm a picture hoe, that last shot is my fav!
Your dress is stunning, and the story of how quickly you designed and created it makes it all the more amazing. You are very talented indeed!
Beautiful! What a journey, but the end results don't show any of your mishaps- it all looks perfectly planned and executed.
Oh Lord! I feel for you. The end result = stunning. Well done.
Lee
Thanks hun! I wish i had someone as great as you to take my pics because these folks……
Thanks Ann!
Absolutely gorgeous! No pain no gain right….Your mishaps paid off. I love the color, style, and the fit. Looks like a dress you would find at Saks or Neiman Marcus.
WOW!!! The green is FIESTA along with your CREATION ;)
Stunned. Just gorgeous and motivating…must persist!
This is fantastic!! You did an amazing job with this. It looks to perfection and you looking stunning in it.
This is gorgeous!
Leave a comment
All blog comments are checked prior to publishing