I knew I would be going to the Caribbean for my 15th wedding anniversary when I was asked what I wanted to do for my February make, so I told the wonderful folks at Fabric Mart that I really wanted to make a swimsuit (my first ever!) and an easy breezy dress.
Thankfully the store had both, this great
olive green swimwear fabric (bottom half of my swimsuit), and a FOUR yard length of this cute printed rayon jersey (I have A LOT left over!). There is none of this fabric left, but there are some other beautiful pre-cuts available
here.
My swimsuit's top half is made from a fabric from my stash, but the olive green matches the leaves and vines perfectly!
As much as I love posing in summer outfits in the middle of February in front of my hall closet, I suspect I am going to love the photos and the posing way more in the Turks and Caicos. I'll make sure to update the blog post with at least one image from the trip after we get back!
JALIE 3350:
To be honest with you all, I was a little terrified to start this project. I have sewn plenty of knits, but there is something inherently daunting about a swimsuit, it needs so much elastic, applied just so, and well there's also the super negative ease. Though I know how small swimsuits look before they get on the body (I am a former competitive swimmer as well as a current swim coach), but I still didn't believe that this would work for me.
Well thank goodness for Jalie. Everything I have made from them has fit well, and like all my previous makes with them (all for this blog, too!), I chose to make a size S at the bust, a size T at the waist, and then grade out from a U to a V at the hips/bottom. It fits exactly right, though I still wish there was some way I could make this swimsuit magically turn me from a pear into either a rectangle or an hourglass. LOL. I'll live, though, I've had years to get used to my body. ;-)

The color is a bit off here, but this is the suit before it went on me. It looks so much like my other suits, so I was super stoked! I even lined it throughout (this black lining is also a Fabric Mart find). Jalie doesn't ask that we line the back, but I swim enough that I want my suit to wear as long as possible. I do feel like this one will last for a while, but I always remember to rinse my suits in cold water and hang them to dry. No, I never wash in a machine or place them in a dryer, that will kill a suit so fast!
Here is my suit in its early stages of construction. One thing I will note is that I serged the back bottom pieces and then folded the serged seam to one side and all the seams that intersected it help keep it down. The last thing I need is that seam to split. AGH, NO! I would've likely figured that out, but the
Craftsy class on constructing a swimsuit mentioned that and I was determined to remember that the most. LOL. No whoopsie moments for me this trip or this summer!
I found the process of applying the elastic (stretching to fit where needed--I used a clear elastic) and then folding over and topstitching oddly satisfying. It was fun. I used a 3.5/3.5 width/length zigzag stitch which was perfect for the construction of all these seams. All the seams made this way held up, even when stretching to fit over my body! The suits I own from J. Crew, etc., are made this way, too, btw.
Here's a look at my suit, inside out. The back seam there is ready to never come apart! :-)
Where it looks like the seam is folding in on itself (there at the lower back), it's okay because that area of my back is enough bigger than that, so on my body it stretches and sits nice and flat.
Oh, the dreaded back view. Sigh.
Anyhow, the back closure is a bit of a miss. I placed the closure in backwards (the open part should face down), and I didn't finish off the loop properly, so getting it closed is a bit of a bear, but I plan to fix the loop (hand sew it flat so it's easier to slip on and off). The open part being up isn't that big of a deal, so I'll just leave it.
I like the way this suit is designed. The open back and closure is so pretty, and I really am thrilled it turned out exactly (well, nearly) like the Jalie line drawings and photos.
BTW,
the Jalie blog has a whole sewalong (that is just the first of six) on the style I made, and let me tell you, it is a great read for any kind of swimsuit make, and most excellent for those of us making this exact garment!
The straps are really long on me. I needed to shorten them by an inch, and then I still have a bit of ease that may need to be corrected as the suit ages and stretches out.
I always prefer my side view to my back view. (Don't we all?) The most wonderful thing, in my opinion, is how the leg openings are not so low as to be a boy short level (which is NO BUENO for my saddlebags), but is not so high as to be indecent. Very nice drafting on the part of Jalie!
SEW SIMPLE A1046:
So this dress! I love how it turned out, but upon initially completing it, I was presented with a pretty, easy breezy dress that was JUST massive on me. I sewed up the size 10 on top and the 12 in the waist and hips, but the combo of the heavier (very nice quality) rayon jersey and the ease being too much (I think the package garment measurements lied or I really do prefer negative ease in rayon jersey garments), I had to significantly alter the sides of the garment to get it to be more fitted. It worked, and while bigger than other jersey dresses I own, it's fine and it fits. I love the length, and I think the shape is one that works well on my pear shaped frame.

Here is the package. It's 97 cents at Wal-Mart! Yeah! I did alter it (beyond the significant reduction of ease) by shortening the length to knee length (it is about 29 inches from the empire seam), and by taking the sash and instead of folding and twisting, sewing it up and attaching it more as a waist sash/belt. I have a short torso, and I think it helps lengthen me a bit through there.
I added pockets, but the ones I took from another pattern were too long, so I had to stitch them at the top part so they would stayed fixed and wouldn't be too cumbersome. Next time I make this, I will definitely choose with more care!
I definitely think I need to shorten the back bodice a bit, clearly you can see the puddling of fabric there. I believe a swayback adjustment would work here well. Next time!
Here's evidence I should do a sway back! When I lifted my arms and straightened my back, it fit great! (Thanks to my husband for this dynamite shot, btw! Ha!)
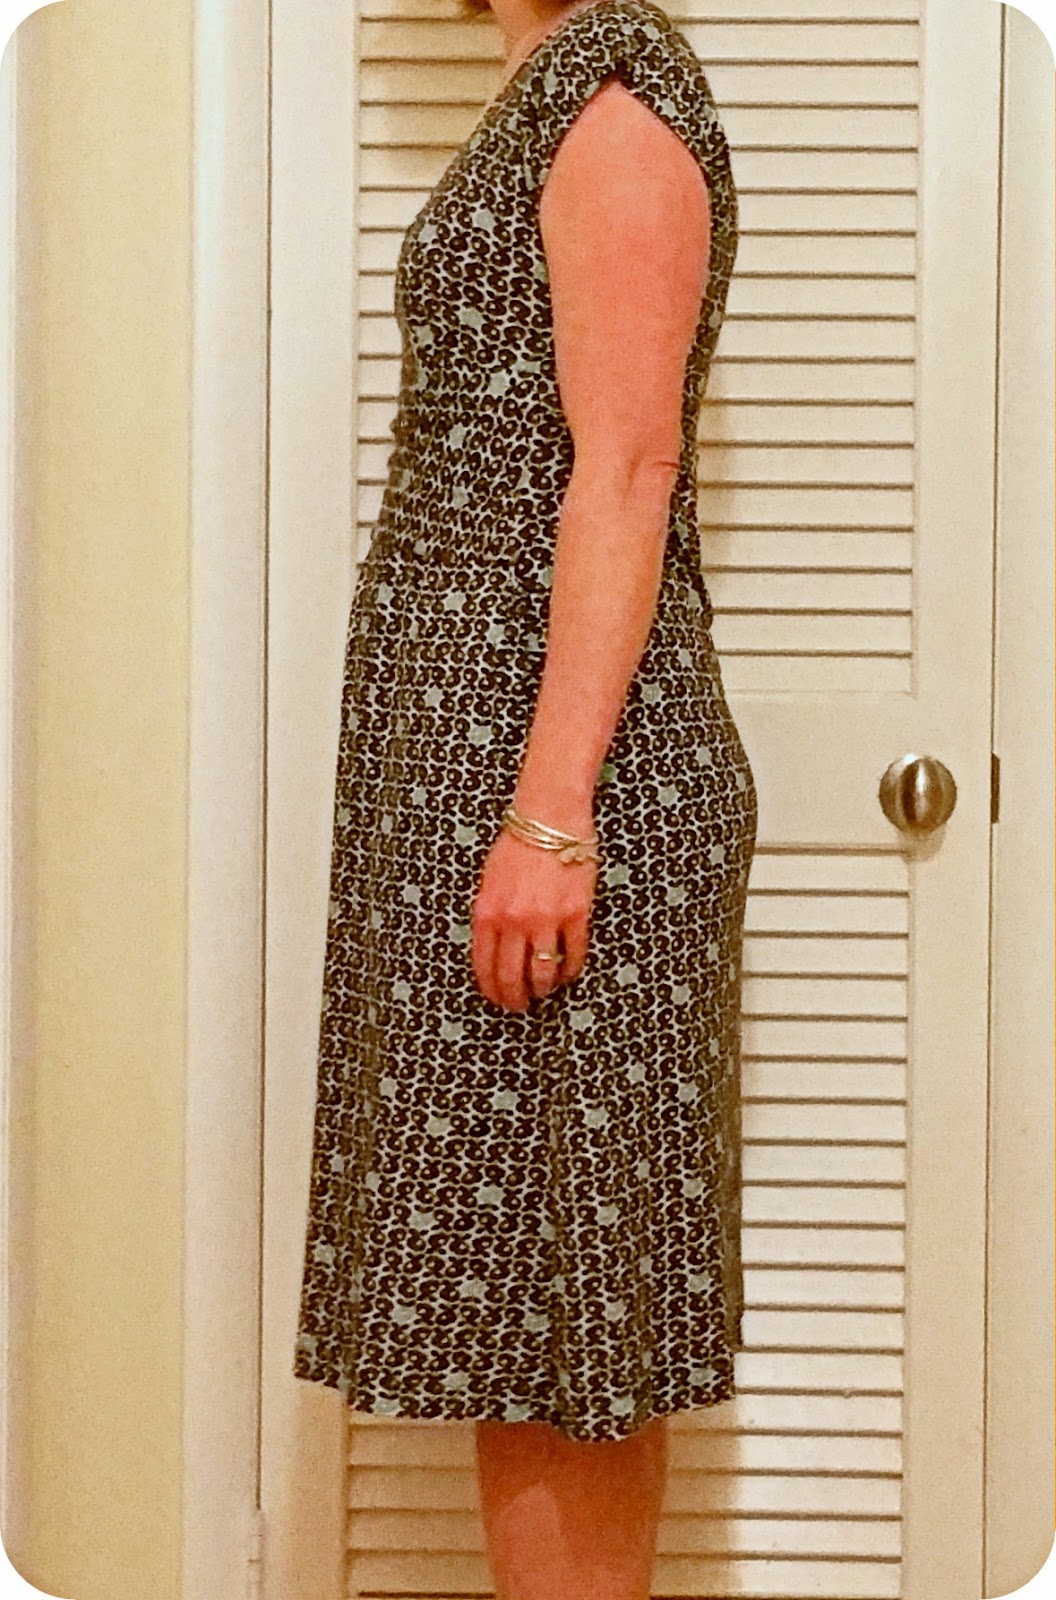
Side view shows how nicely this fabric drapes. It is seriously soft, flowy, and very easy to wear. I think I should make PJs from the rest (and probably still have enough left over for a skirt for my daughter!).
I want to note that I am nearly uncomfortable showing off this much of my neck and chest. If I ever want to wear this to school, I absolutely POSITIVELY have to wear it with a camisole in a matching color (I have light blue and black, so it'll work).
Cannot wait to wear this one for real, and very soon!
Until the next time, I hope all of you are well, and I hope you all have a love-filled and happy February!
Dina~
My Superfluities.


Omg I love them both! That swimsuit is perfect. Coverage but not fully covered. And the back view is great!!!
I get when you're uncomfortable, you're uncomfortable. But that neckline on the dress is so perfect.
So Cute! Beautiful work and you look fabulous. Happy vacation
Thank you for the swimsuit review! It's so helpful to see them on real bodies!
Your review is very helpful. Thank you for the back view. You've given me the confidence to try it myself.
I just got this pattern. I love what you did to the front band. I'll do that too.