DIY Tutorial: Infinity Scarves

Have a person on your gift list, but have no idea what to get for them? Making a gift is the perfect idea and it will be even more thoughtful than a silly little gift they don't really want anyway.
Infinity scarves are super easy and quick to make. They are called infinity scarves because they look like a continuous piece of fabric in a tubular form. You can make them in almost any type of knit. Knits come in so many different prints that you can make one for every outfit in your closet.
Here is what you will need:
- Sewing machine
- 1/2 yard of knit fabric (sweater knit, rayon knit, ITY knit, cotton knit, etc) Should also be 58/60" wide.
- Thread to match
- Hand sewing needle
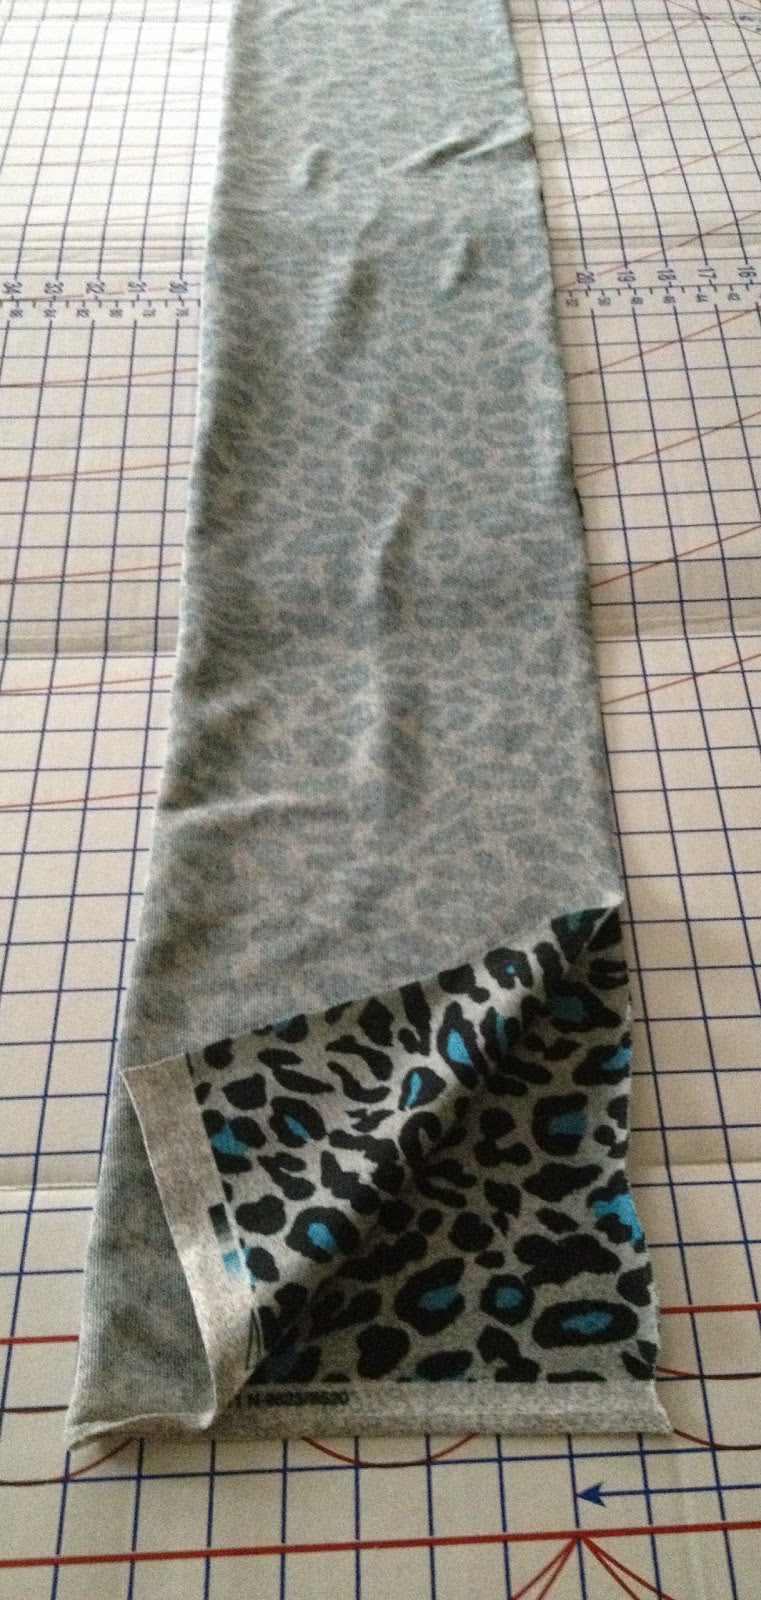
1) Fold the 1/2 yard piece of knit in half the long way. Pin along the entire long edge.
2) Using a thin zig-zag stitch (almost straight stitch), stitch the long edge. I pull slightly on the front and back of the fabric as it goes through the sewing machine so that when the scarf is finished, it can be stretched and the seam does not break. Serge the seam if possible. You should now have a fabric tube, with right sides together.
3) Put your hand through one open end and grab onto the other open end. Pull the other open end through (still right sides together), matching raw edges (selvedges together) and seams. Pin together.
(Edit 8/14/14, again 12/11/14 --- this is the step where you are sewing the tube ends together. The tube ends are the selvedges. By the comments we received below, this looks to be the place people get confused. I modified the directions the best I can for this step.)
(Edit 8/14/14, again 12/11/14 --- this is the step where you are sewing the tube ends together. The tube ends are the selvedges. By the comments we received below, this looks to be the place people get confused. I modified the directions the best I can for this step.)
 |
| Matching the open ends to create a shorter tube. |
4) Sew along the raw edges (selvedges of this "tube", making sure to leave an opening to turn right side out. Serge if possible. See left side of photo below:
 |
| This is what the scarf should look like before turning it right side out. Left side is the stitched end (selvedge edge)with an opening left for turning. The right side is a folded edge. |
5) Turn the entire scarf right side out. Hand stitch the opening closed.
Tip: You can make a fuller scarf by cutting more than 1/2 yard.
Make a scarf for everyone on your list! What will you be making as gifts for the holidays?
|
Posted on December 08 2012


EASY PEASY thanks for the tutorial..
Thanks for a great tutorial. I couldn't fathom it out in my mind, but I just followed step by step and it all worked!
Try pinking shears to trim the edge cleanly
or..
sew a double seam, another row of stitches close to the first seam
or..
if your fabric does not fray (bonus) DO NOTHING
I have made several of these scarves and have tried several techniques. The one I find easier is to sew the long edge but leave about a 6" opening about 6" in from one end. You then pull the ends up through that opening and machine stitch the ends together. Pull the whole scarf through that opening while turning right side out and slip stitch that 6" opening closed. Voila! For some reason the long edge is more stable and easier to hand sew closed than the end
You can also twist the ends before you stitch them together. It gives an automatic nice twist to the scarf.
Thank you for the idea, now I know what to do with some cute fabric I got in one of your bundles!
Nice.
Thanks for the great sharing! Wholesale Scarves was given to me for new hope this past year and it has gotten some heavy use. Thus an idea began to blossom.
This is so cutewholesale scarves or wholesale hats.
! Good for you! I cannot wait to get my hands on a copy of this magazine; especially this pattern!
Leave a comment
All blog comments are checked prior to publishing