Summer of T-Shirts Event: Bell Sleeves

This is the last week in the Summer of T-Shirts Event! We had a lot of fun putting this together for you and I hope it helped broaden your creativity.
If you followed along with us, be sure to post photos of your finished projects on Facebook and Instagram using #FMSummerofTshirts. You will be entered into a random drawing for one of two prizes: a $75 gift certificate for Fabric Mart or 3 patterns of your choice from Palmer/Pletsch or Melissa Watson. Post your photos by August 31st. Winners will be chosen on September 1st.
This week's post is by Tereza from the blog, Sewing For Me. She will be sharing with you how to change straight sleeves into bell sleeves.
I just can't get enough of my StyleArc Adele Top!
For this version, I took into account my changing body as my twins are reaching 20-ish weeks out of 40. With the changes, straight sleeves feel a little snug some days. Therefore, I drafted up 3/4 bell sleeves.
Step 1- Set up your sleeve pattern to 3/4 length.
Step 2- Establish your wrist width. In this version, I added 2" on either side at the sleeve hem then gently curved back to just below the armhole seam line. Leave that seam alone or you'll accidentally be adding to the armhole. Ask me how I know! You can see I free handed the curve so it took a few tries. If you have a hip curve ruler or French curve, use one of those.
Note: I taped my sleeve bell on top so it can be easily removed later. I always try to preserve the original pieces whenever possible.
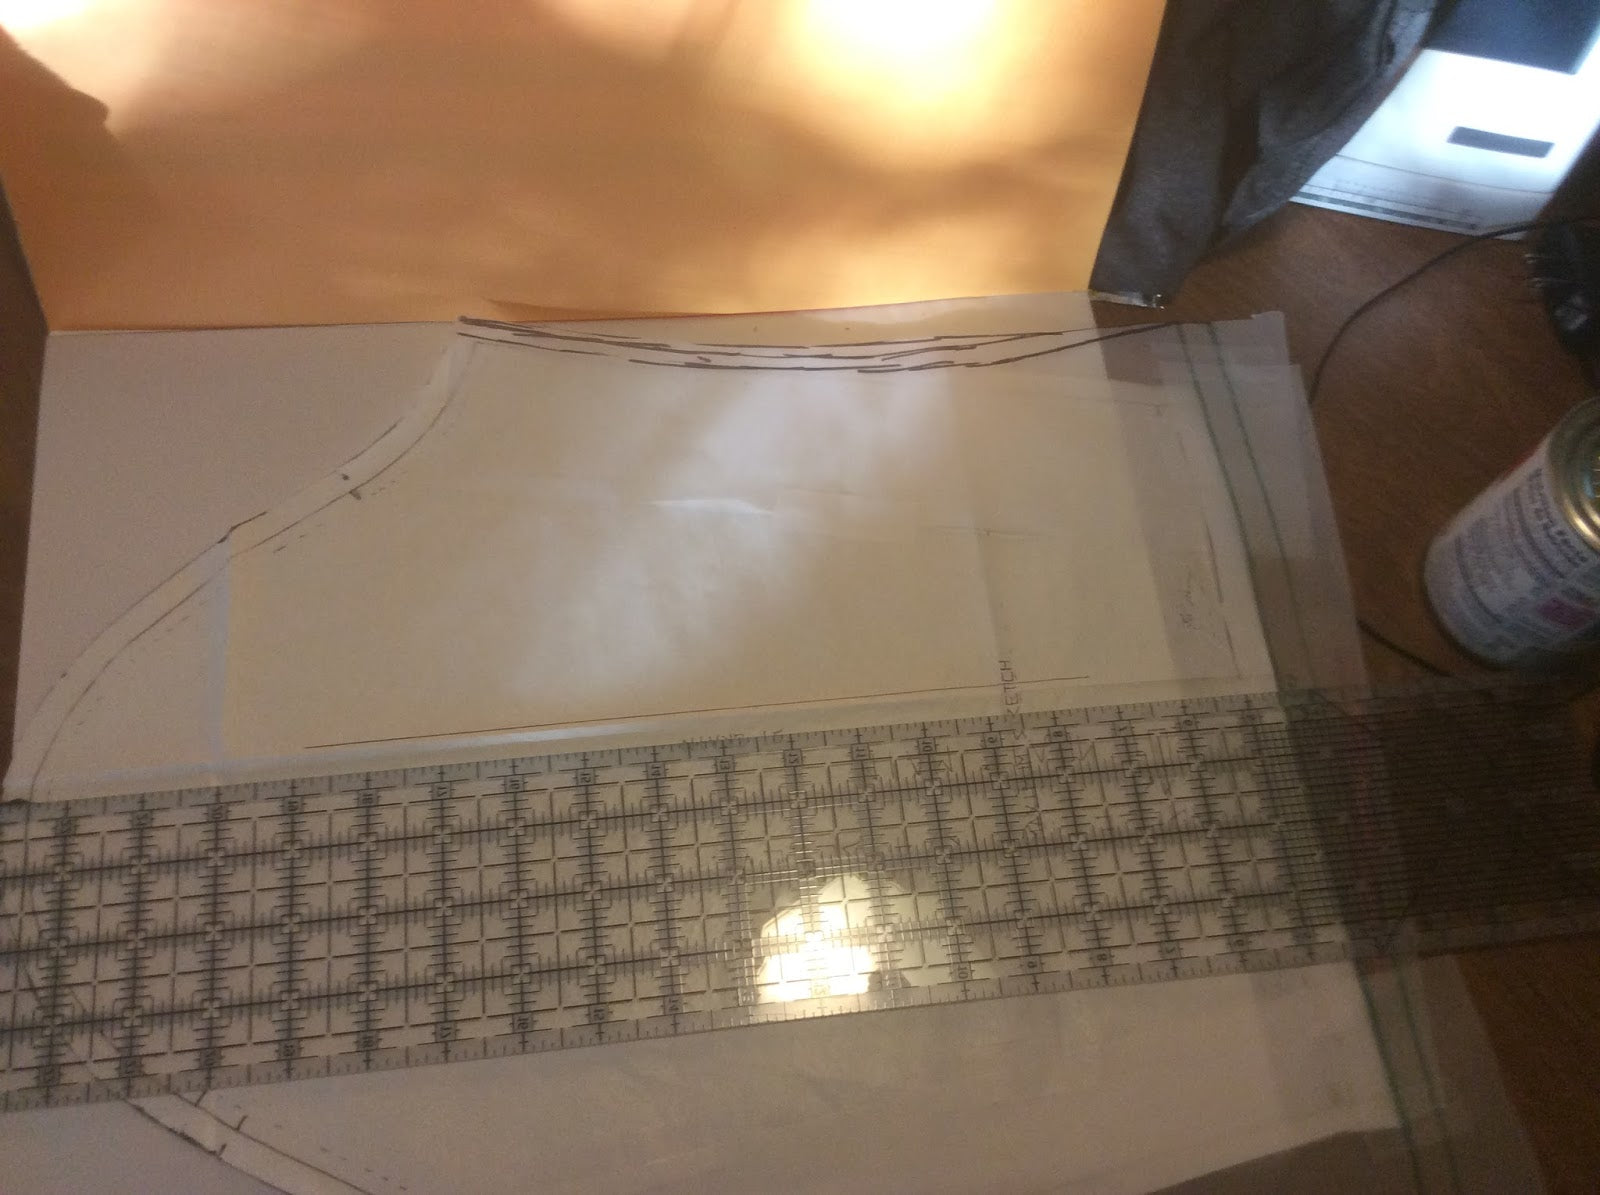
Step 3- With the wings in place, draw one horizontal line with a straight edge matching the original sleeve cut line. Then draw a second line 1/2" below that.
Step 4- mark the center line of the sleeve over these new hemlines.
Step 5- Draw the new curved sleeve edge starting at the first line at the edges and the second line in the center. Again, a curved ruler makes it easier, but I free handed this curve as well. You can always adjust this during the hemming step if it end be up a little uneven.
Step 6- Now you just cut your new pattern piece out of the paper, and cut your fabric.
You can use the same bell technique on the front and back for a loose tent silhouette too!
I love how this fits! I want to make a few more now!
|
Posted on August 29 2016


Good for you! Your finished project is lovely . Bell sleeves add perfect balance to the silhouette. You look like a very stylish mom. All the best to you and baby!!!
So cute!
Leave a comment
All blog comments are checked prior to publishing