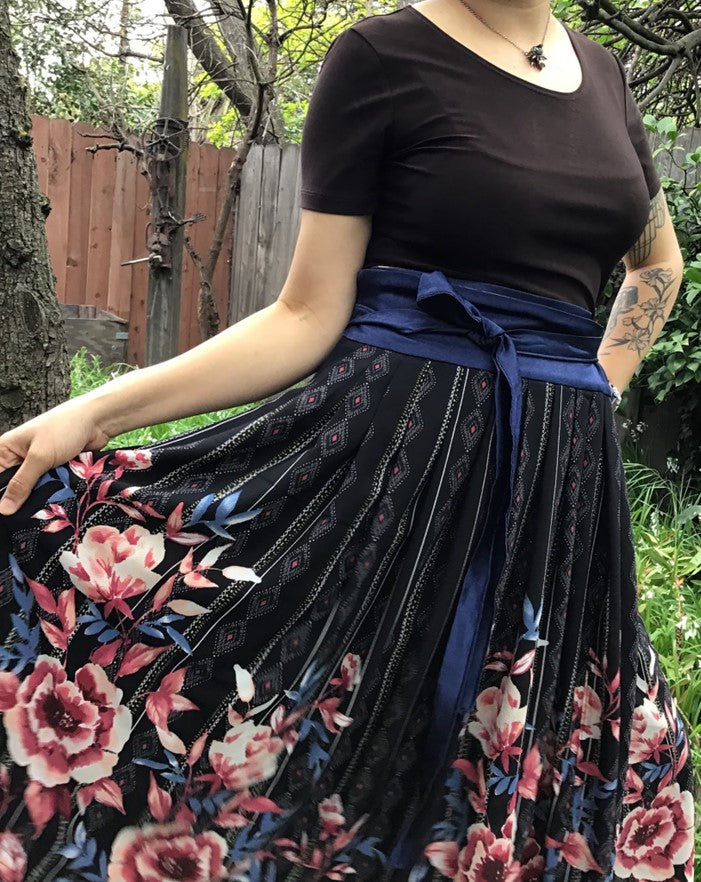
Skirt Challenge Inspiration: Pamela's Deconstructed Pencil Skirt

My name is Pamela Leggett, and I am the owner of Pamela’s
Patterns, a pattern company based on teaching women how to create great fitting
basic garments that flatter their “fluff and scallops”. Check out www.pamelaspatterns.com for helpful
YouTube tutorials, patterns and supplies.
And if you need some help with
your knit sewing techniques, get my Craftsy class, Fashion Sewing & Serging Techniques (order from my website and get 50_ off!).


I used Pamela’s Patterns #109 Magic Pencil Skirt and a
beautiful purple stretch denim from Fabric Mart. It isn't available anymore, but HERE are some other denims that would work well.
Get the Pattern Ready
Trace two pattern pieces from your pattern, and tape them
together at the center front to create a full front pattern piece.
Use a quilting ruler to create 45-degree angle lines on the
pattern. Think about where the lines are
placed; I made my lines just above and below the widest part of my hips, a
little off center, and extending into the hem.
This placement is pretty flattering to most figures.

Cut the pattern apart on these lines, and add ½” seam allowances. I used Perfect Pattern Paper from
Palmer/Pletsch to add the seam allowances, it has fraction lines printed right
on it!

Test and Cut the
Denim
The Magic Pencil Skirt Pattern features a smooth elastic
waist finishing, so you will need a stretch denim if you are using this
pattern. If you make this from a
non-stretch denim, you will need to add a zipper.
Denim is most often the combination of two colors of fiber –
one color fiber in the crosswise grain, and another color in the lengthwise
grain. You’ll want to test the fabric to
see which “fringe” color you want to feature.
Cut a square of the denim and pull the fibers on each edge to create the
fringe. Make a note as to which grain
has the desired effect.

Mark the pattern carefully to ensure that you know which
grainline has the desired fringe look, and where the appropriate angle line of
the pattern needs to be placed on the fabric grain. The angle line that will be fringed will be
laid on the crosswise or lengthwise grain, making the side and waist/hem edges
on the bias. Double check your layout,
this is the part that needs concentration!
TIP: Do this part before a glass of wine!

Construct the Front
Draw ½” lines with a chalk marker onto each of the pieces
where the angles have been cut. You will
be matching up these lines when putting it back together.
Serge or zig zag finish the edges that will be
underlapped. TIP: Lay the pieces out in
the desired placement and finish the underlapped edges one at a time. It’s easy to get confused!

Overlap the first section on the ½” lines. I found a very easy way to do this is to use
Double Sided Fusible Stay Tape. Cut the
stay tape to a 3/8” width and fuse to the right side of the underlap edge. Peel off the release paper, match up the ½”
lines and press in place – no pinning needed!

Straight stitch two rows of stitching, about ¼” apart, just
above and just below the marked line on the fabric. I have a coverstitch machine, and used that
to get both rows done at the same time – and I love the way it looks on the
wrong side of the fabric!

Now cut out the back of the skirt and construct per the
pattern instructions. This skirt takes
less than an hour to make!
Pamela's Tips

- I felt like my fringe look too “uniformed”, so I snipped into the fringe and at angle every ½” or so. Then I roughed it up a bit with my hands. It is a subtle difference, but I liked it better!
- For fitting and construction help, check out my YouTube videos for the Magic Pencil Skirt at pamelaspatterns.com
- Be sure to check out my website for all the supplies mentioned in this lesson – Pattern Paper, Stay Tape and Fantastic Elastic to finish the waist.
~ Pamela from Pamela's Patterns
Share your me-made skirts thru May 31st and be entered to win a $50 gift certificate to Fabric Mart! Share on Facebook or Instagram using #sewcoolskirts.
|
Posted on May 18 2017
Very creative! Definitely unique
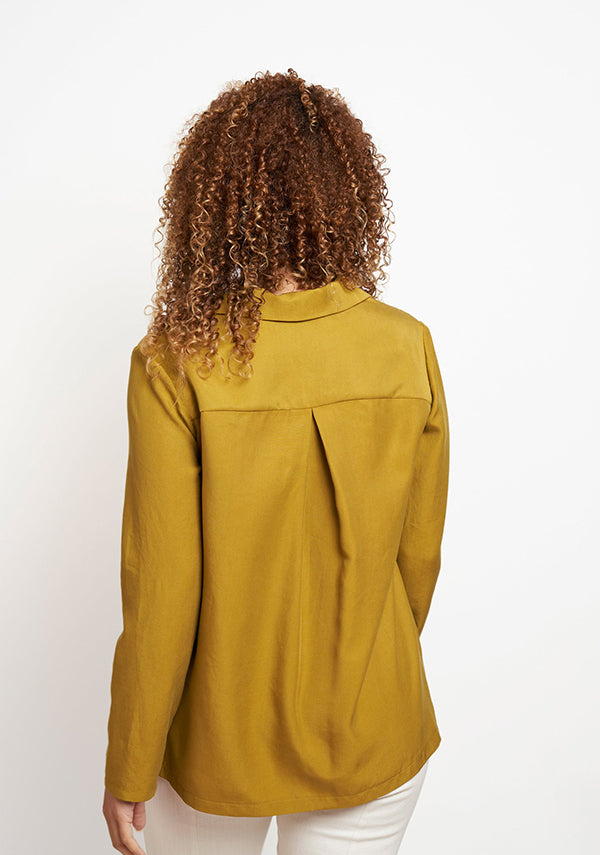
I am speechless! Thanks for the tip on creating this look. It is beautifully made. I will definitely try this technique on my next pencil skirt, in denim too! I love the blouse that you have paired it with. Did you make the blouse too? What pattern and fabric is that?
Love it! Great twist on the basic pencil skirt.
Thanks, it was fun to make!
It is so funny that you asked about the blouse – my daughter asked the same thing! I got the blouse on the sale rack at Soft Surroundings last year. When I buy clothes, that is my go-to store!
Pamela, I love it my friend….I will try it for sure.
LOVELY Skirt!!! FIESTA ;)
That's brilliant! I love it! I want to make this skirt now.