DIY Tutorial: Flip Flop Pillow

Here is a pillow that is perfect for the beach house, enclosed porch, or on the deck.
Nothing says summer time like a brightly colored flip flop.
Sandy, who works in the cutting room, made these pillows with her grandchildren last summer and we knew we just needed them on the blog!
You will need:
- ¼ yard of quilting cotton (For the front and back)
- 3½" of contrast quilting cotton (For the sides and straps)
- Fiberfill
- Matching thread
- Coordinating button
- Iron
- Sewing machine
- Hand sewing needle
First you will cut the flip flop front and back out of your main fabric.
Your pattern piece should be about 16" long. Start by drawing two circles on plain paper. One 9" in diameter and then one 8" below it slightly overlapping. Adjust the shape as needed.
Your pattern piece should be about 16" long. Start by drawing two circles on plain paper. One 9" in diameter and then one 8" below it slightly overlapping. Adjust the shape as needed.
Set those aside and then cut one piece of 45" x 2" for the sides of your pillow out of your contrast fabric.
Cut one strip of 19" x 1½" out of the contrast fabric for the flip flip strap.
Now you can begin sewing!
First you will sew the strap.
It will be helpful to use an iron for this step.
With your strap laying flat on your work surface, fold over the long edges ¼" towards the middle, wrong sides together.(As shown by the bottom strap) Use your iron to press a crisp edge. Once you have your edges turned, fold the strap in half matching your clean edges, then press. (Shown by the top strap)
With your strap laying flat on your work surface, fold over the long edges ¼" towards the middle, wrong sides together.(As shown by the bottom strap) Use your iron to press a crisp edge. Once you have your edges turned, fold the strap in half matching your clean edges, then press. (Shown by the top strap)
At this point you could either insert a piece of fusible tape in your fold or sew along side of your folded edges with a small seam allowance.
We chose to sew along the edge. But if you are a beginner you might want to use the fusible tape.
If you are sewing, place your presser foot on the edge and move your needle to the far right position.
Sew carefully!
We chose to sew along the edge. But if you are a beginner you might want to use the fusible tape.
If you are sewing, place your presser foot on the edge and move your needle to the far right position.
Sew carefully!
Next you will sew that strap onto the front side of your flip flop.
Make a "V" with your strap, folding the one side over the other so that the middle point lays flat. Position it on top making sure the edges meet. Pin it down and then set this piece aside for the next step.
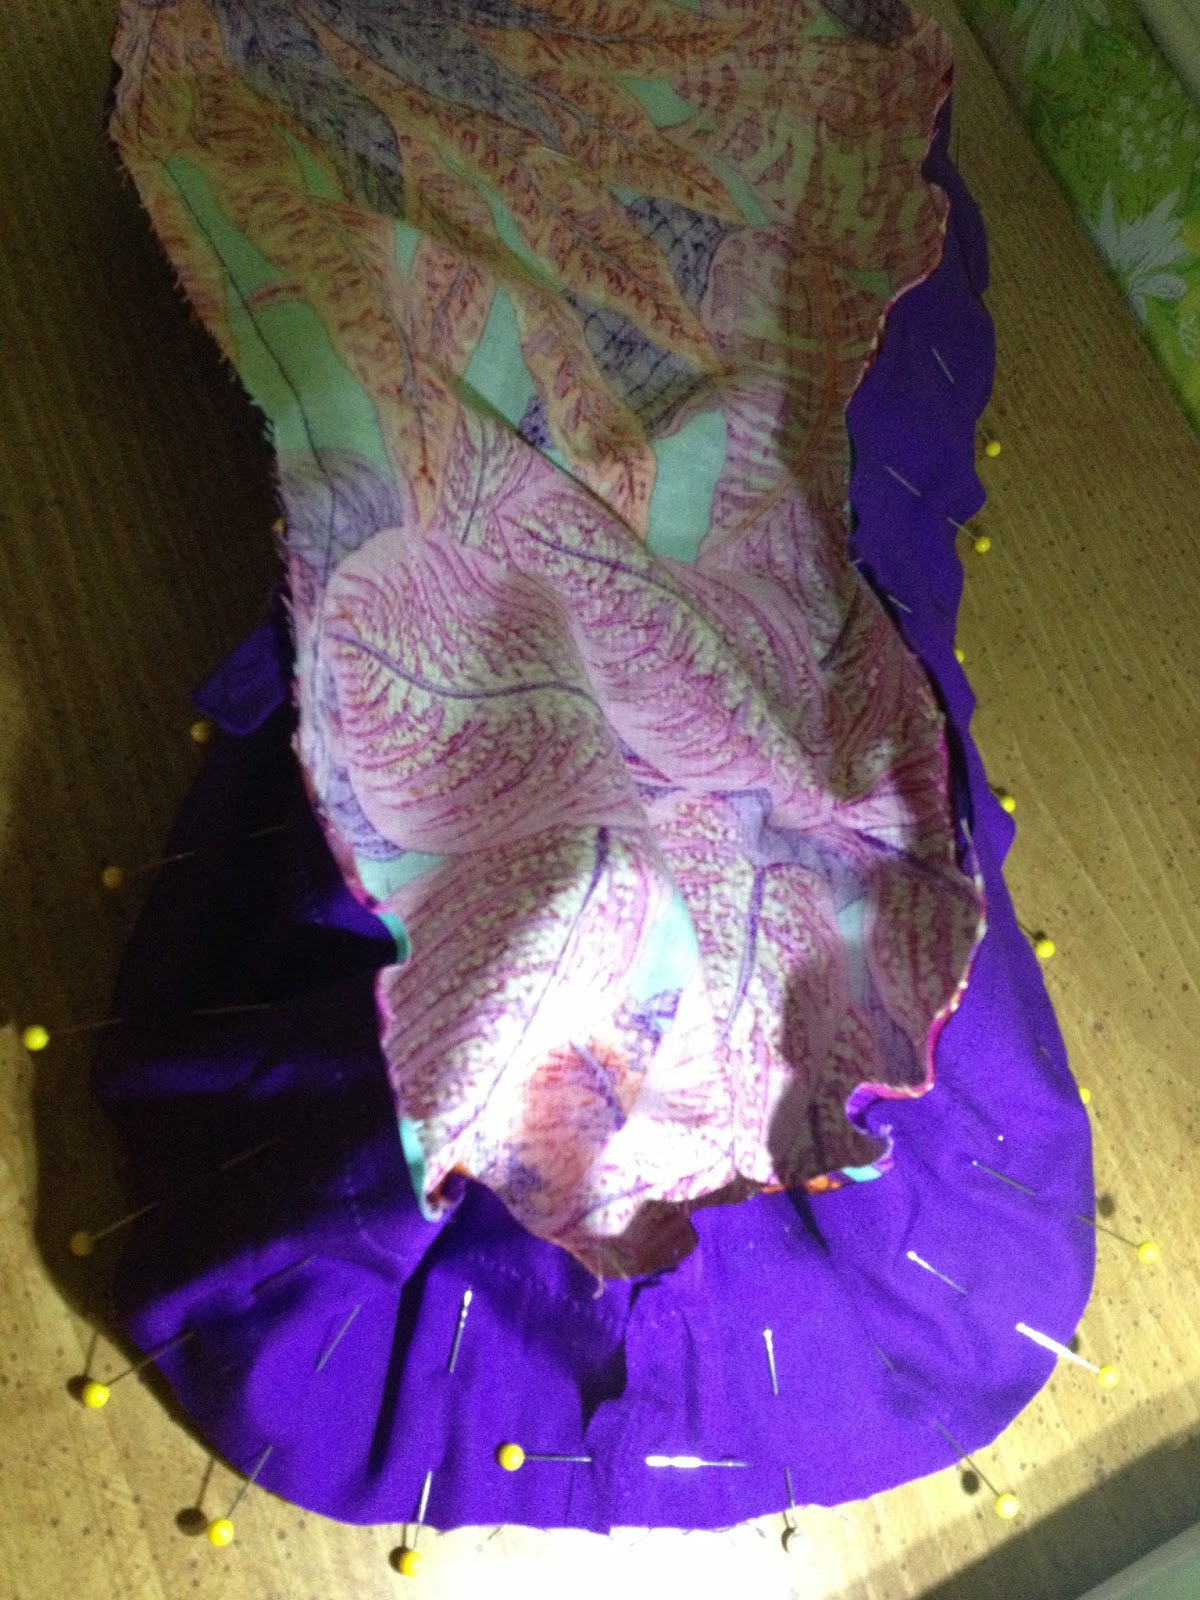
Once you have that sewn together, pin it to your front piece you just attached the strap to.
Pin your back piece to the sides, then sew. Make sure to leave a 3" opening at the bottom so you can turn out your pillow.
When your pillow is all sewn together, turn the right side out.
But before you turn your pillow out, clip the edges to allow ease so your side seams lay nicely.
Be careful not to cut your stitches!
But before you turn your pillow out, clip the edges to allow ease so your side seams lay nicely.
Be careful not to cut your stitches!
Your pillow should then look like this. See! It's coming together!
Use the fiberfill to stuff the pillow to your desired firmness.
Use the fiberfill to stuff the pillow to your desired firmness.
To finish the pillow, use your needle and thread to do a whip stitch to shut the pillow.
To hold your point down on the V of your strap, use a button or other embellishment.
If you are just beginning you may use a hot glue gun to glue down your strap and embellishment. Have fun playing with different buttons or maybe use a flower pin!
To hold your point down on the V of your strap, use a button or other embellishment.
If you are just beginning you may use a hot glue gun to glue down your strap and embellishment. Have fun playing with different buttons or maybe use a flower pin!
And ta-dah!
You have a super fun summer pillow!
Thanks for the idea, Sandy!
|
Posted on July 30 2013


Soo cute!!! Thank you for great idea!
Leave a comment
All blog comments are checked prior to publishing